One of the biggest change in Microsoft’s vision, since Satya Nadella took the steering in his hands, is the focus to mobile and cloud technology. They have also made it clear that it’s not only WindowsPhone development they want to promote, but also cross-platform development using Microsoft tools and technologies. In this pursuit, they have recently released a Swift and C# quick reference guide. This guide tries to showcase language equivalents with a few code examples (http://aka.ms/scspostercode).
Microsoft is hoping that this guide will help Swift programmers move to C# because of the similarities between both the languages. As they mention in the pdf –
“Swift and C# are C-style languages that are
both productive and powerful. Using Swift,
you can create iOS applications using Xcode.
By leveraging your Swift skills, it’s an easy
transition to C#. Then using C# with Xamarin
and Visual Studio, you can create applications
that run on Windows, iOS, and Android.
Learn more at Cross-Platform Development
in Visual Studio (http://aka.ms/T71425) and
Understanding the Xamarin Mobile Platform
Although this is an effort to motivate Swift programmers into using C# and Xamarin for cross-platform development, we think this can be very useful for the C# developer to move on to Swift for building native iOS apps.
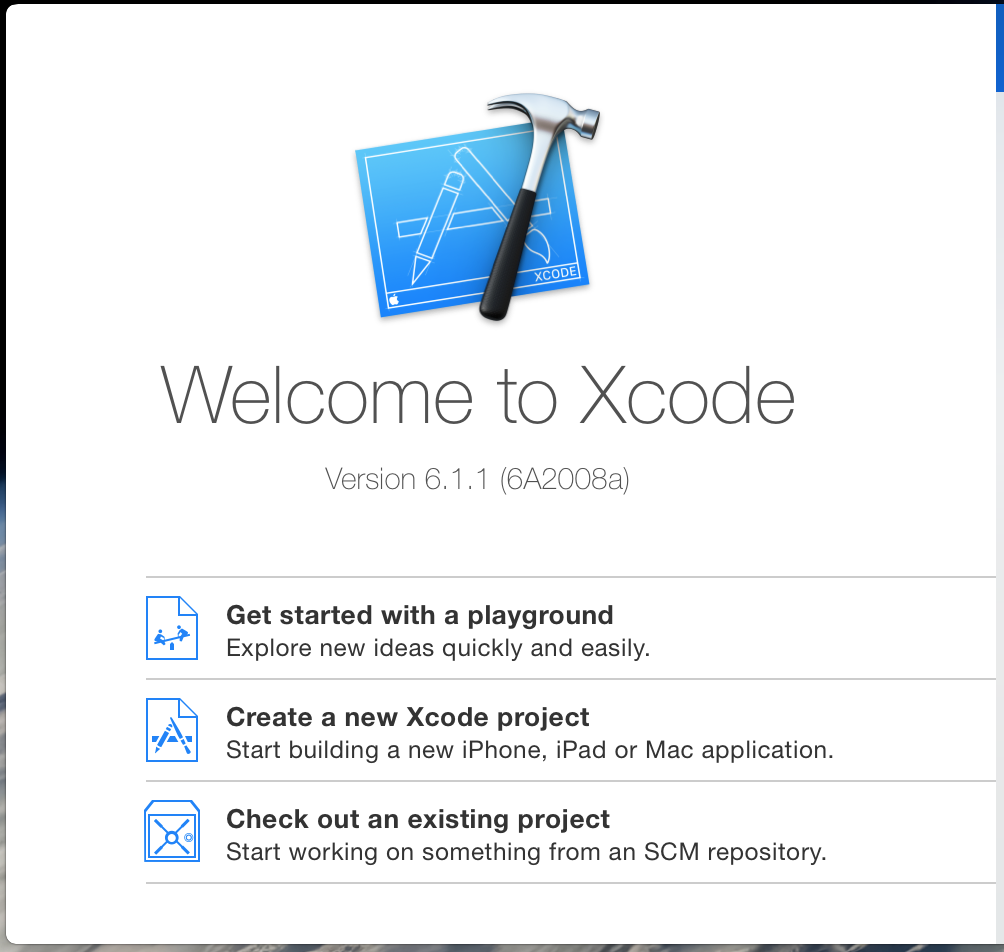
How to get started you ask? It’s pretty simple actually. Get the latest copy of Xcode (6.1.1 at the time of writing this post). You’ll see the welcome screen like this on launch of Xcode:
Select “Get started with a playground”, give the playground a name (let’s say MySwiftPlayground)

And then finally select the directory where you want this file to be saved.
“Playground” was launched alongwith Swift to help test Swift code snippets. It is an interactive environment that is nested within Xcode which provides instant feedback of your code without the need of compiling. Results of each line appear immediately in the results sidebar.
The file you just created comes with three lines of default code. You can remove that code if you want and try out the code examples given by Microsoft in the quick reference guide. Let’s try out the String swift example:-
var hello = “hello”
var world = “world”
var helloWorld = hello + “, “ + world
var sayHello = “\(hello), \(world)“
var numberOfChars = countElements(sayHello)
var seventhChar = sayHello[advance(sayHello.startIndex, 7)]
var startsWithHello = sayHello.hasPrefix(“hello”)
The output of these lines can be seen in the results sidebar right next to the line of code.

Note how you don’t need to end each line with a semicolon. Also, if you have tried some Objective-C before, then you’d also notice that strings in swift are not preceded with @ sign as was the case in Objective-C.
Although, this is a handy quick reference guide for a C# developer to find language equivalents in Swift, this can’t be used as a complete tutorial for starting native iOS development. You’d still have to find some good resources for in-depth knowledge of this cool new language by Apple (we recommend Raywenderlich and the official Swift reference guide).